Introduction
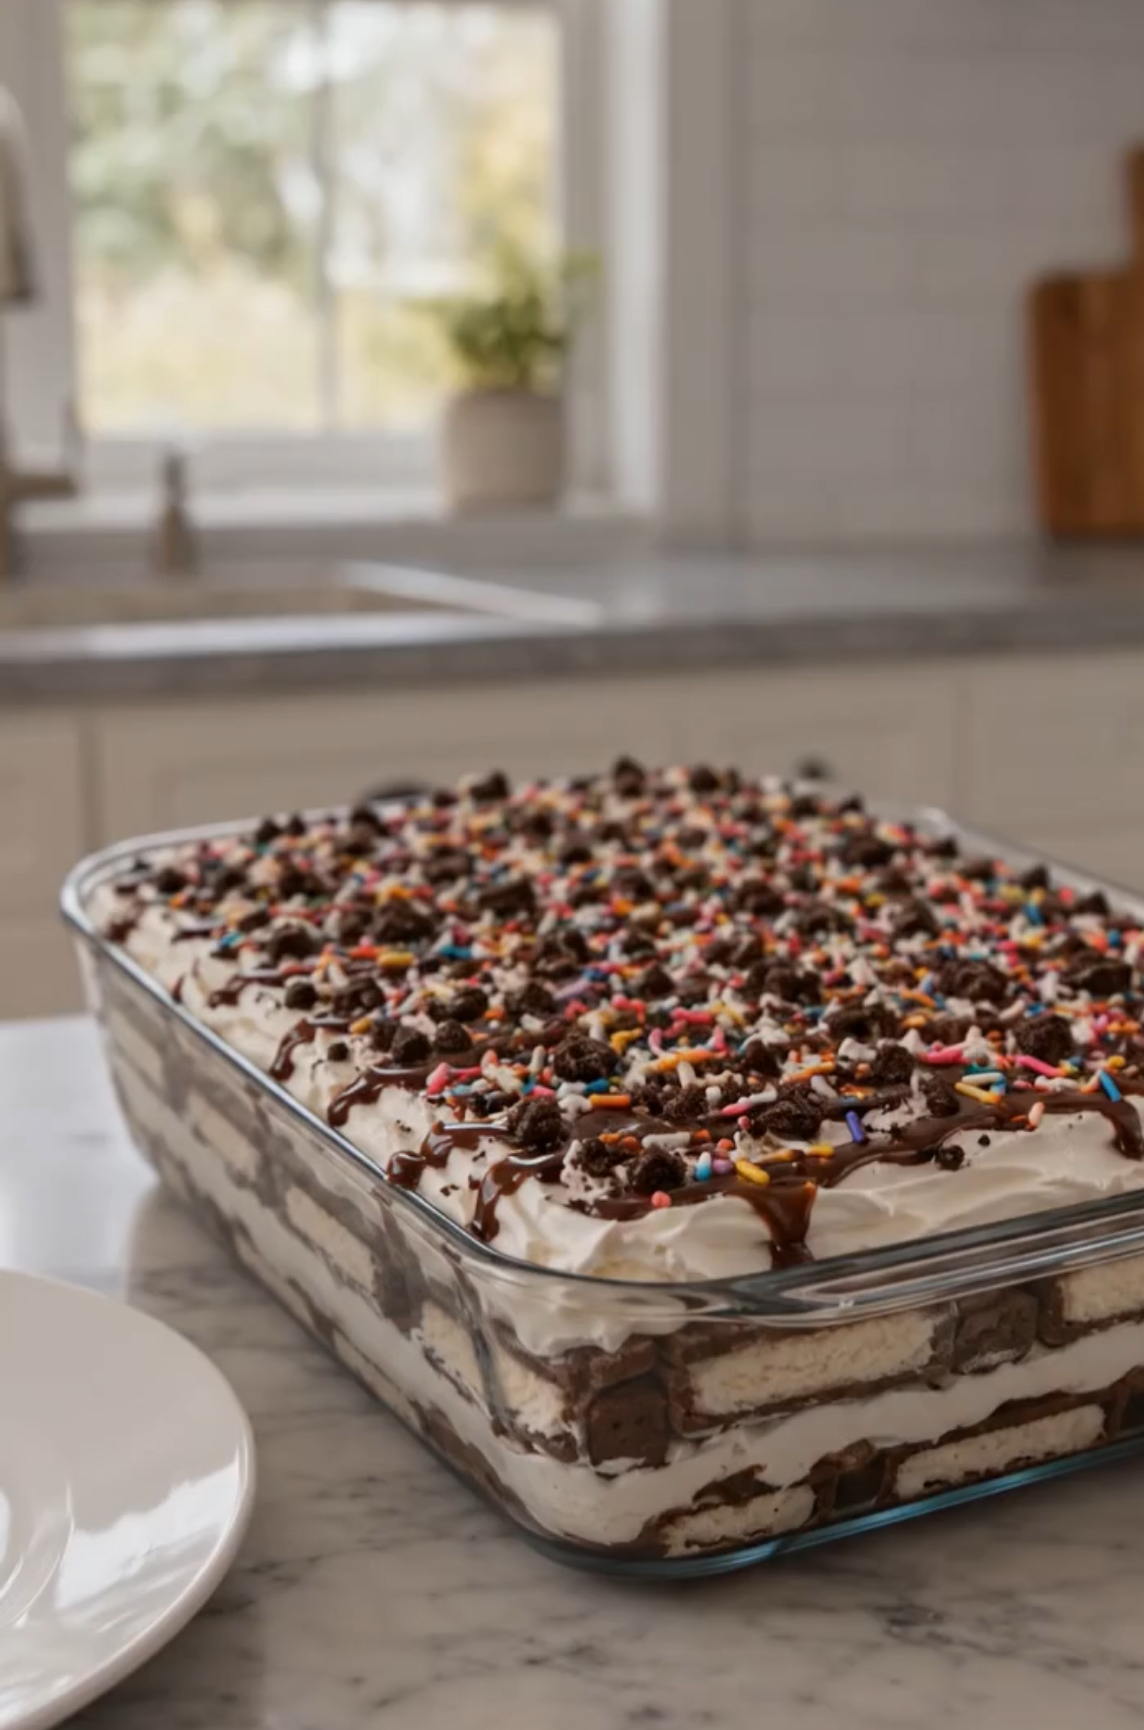
This No-Bake Chocolate Oreo Icebox Cake is a creamy, chocolate-filled dessert made with layers of chocolate cookies, fluffy whipped cream, rich chocolate pudding, and crunchy Oreo pieces.
The entire dessert comes together without turning on the oven, making it an easy no-bake dessert recipe for birthdays, holidays, potlucks, family gatherings, and warm-weather celebrations.
After chilling, the cookies soften into a cake-like texture while the creamy layers become rich and smooth. A drizzle of chocolate syrup, crushed cookies, and colorful sprinkles give the top a fun bakery-style finish.
Recipe Overview
| Category | Details |
| Recipe Name | No-Bake Chocolate Oreo Icebox Cake |
| Prep Time | 25 minutes |
| Chill Time | 6 hours |
| Total Time | About 6 hours 25 minutes |
| Servings | 12–15 |
| Baking | No baking required |
| Dish | 9 × 13-inch baking dish |
| Difficulty | Easy |
| Cuisine | American |
| Course | Dessert |
Why You’ll Love This Recipe
This dessert is incredibly easy to prepare because there is no baking, complicated decorating, or special equipment required. It is a great choice when you want an impressive dessert without spending hours in the kitchen.
The combination of chocolate cookies and creamy filling creates a texture similar to a soft chocolate cake after chilling. Every spoonful contains creamy, crunchy, and chocolatey layers.
It is also an excellent make-ahead dessert. Preparing it several hours before serving gives the cookies plenty of time to absorb moisture and become tender.
The colorful sprinkles and crushed chocolate cookies make this recipe especially appealing for birthdays and family celebrations. You can easily customize the toppings to match any occasion.
Ingredients
For the Creamy Filling
| Ingredient | Amount |
| Heavy whipping cream | 3 cups |
| Powdered sugar | ¾ cup |
| Vanilla extract | 2 teaspoons |
| Cream cheese, softened | 8 oz (225 g) |
| Instant vanilla pudding mix | 3.4 oz (96 g) |
| Cold milk | 1½ cups |
For the Chocolate Layers
| Ingredient | Amount |
| Chocolate sandwich cookies | 30–36 cookies |
| Mini chocolate sandwich cookies | 12–15, optional |
| Chocolate syrup | ½ cup |
| Chocolate chips or chocolate pieces | ½ cup |
For the Topping
| Ingredient | Amount |
| Whipped cream | 1–2 cups |
| Chocolate syrup | 2–3 tablespoons |
| Chocolate sandwich cookies, crushed | 6–8 cookies |
| Rainbow sprinkles | ¼–⅓ cup |
Step-by-Step Instructions
1. Prepare the Creamy Filling
Place the softened cream cheese in a large mixing bowl.
Beat until smooth and creamy.
Add the powdered sugar and vanilla extract.
Continue mixing until completely combined and smooth.
2. Prepare the Pudding Mixture
In another bowl, whisk the instant vanilla pudding mix with the cold milk.
Whisk for approximately 2 minutes, until the mixture thickens.
Let it stand for about 3–5 minutes.
3. Combine the Cream Mixtures
Fold the prepared pudding into the cream cheese mixture.
In a separate bowl, whip the heavy cream until soft peaks form.
Gradually add the remaining powdered sugar and continue whipping until medium-stiff peaks form.
Gently fold the whipped cream into the pudding mixture.
Do not overmix. The goal is to keep the filling light and fluffy.
4. Prepare the Cookies
Leave some chocolate sandwich cookies whole for the layers.
Roughly crush several additional cookies for the filling and topping.
Avoid crushing every cookie into fine crumbs. Larger pieces provide a better texture throughout the dessert.
5. Create the First Layer
Lightly grease a 9 × 13-inch baking dish.
Arrange a layer of chocolate sandwich cookies across the bottom.
You can break a few cookies into smaller pieces to fill any gaps.
6. Add the Cream Layer
Spread approximately one-third of the creamy filling over the cookies.
Use a spatula to gently spread it into an even layer.
7. Add Chocolate
Drizzle some chocolate syrup over the cream layer.
Sprinkle a portion of the crushed cookies and chocolate pieces over the top.
8. Repeat the Layers
Add another layer of chocolate cookies.
Spread another portion of the creamy filling over the cookies.
Add another drizzle of chocolate syrup and some crushed cookies.
Repeat until the ingredients are used.
Finish with a generous layer of the creamy filling.
9. Decorate the Top
Spread whipped cream over the top.
Drizzle with chocolate syrup.
Sprinkle generously with crushed chocolate sandwich cookies.
Finish with colorful rainbow sprinkles.
Add a few mini chocolate cookies if desired.
10. Chill
Cover the baking dish tightly with plastic wrap or a fitted lid.
Refrigerate for at least 6 hours.
For the best texture, refrigerate overnight.
The longer chilling time allows the cookies to soften and absorb some of the creamy filling.
11. Serve
Remove the dessert from the refrigerator just before serving.
Cut into squares or scoop directly from the dish.
Serve chilled.
Best Tips
Use very cold heavy cream when making homemade whipped cream. Cold cream whips faster and produces a more stable texture.
Make sure the cream cheese is softened before mixing. Cold cream cheese can leave small lumps in the filling.
Do not rush the chilling process. At least six hours is recommended, but overnight refrigeration gives this icebox cake its best cake-like texture.
Avoid adding too much chocolate syrup between the layers. A light drizzle provides plenty of chocolate flavor without making the dessert overly wet.
For clean slices, use a sharp knife and wipe the blade between cuts.
Best Ingredient Options
Chocolate sandwich cookies: Regular chocolate sandwich cookies work perfectly, but you can use chocolate crème cookies, chocolate wafers, or another similar cookie.
Heavy whipping cream: Fresh heavy cream gives the best homemade whipped topping. For convenience, prepared whipped topping can also be used.
Cream cheese: Full-fat cream cheese gives the richest and creamiest filling.
Pudding mix: Vanilla pudding creates a creamy contrast with the chocolate cookies. Chocolate pudding can be used when you want an even richer chocolate dessert.
Chocolate syrup: Homemade chocolate sauce or good-quality chocolate dessert sauce can be substituted.
Sprinkles: Use rainbow sprinkles for birthdays or choose colors that coordinate with a holiday or celebration.
Recipe Variations
Chocolate Oreo Icebox Cake
Replace the vanilla pudding with instant chocolate pudding for a completely chocolate-focused dessert.
Birthday Cake Version
Add colorful sprinkles between the layers and use birthday-themed sprinkles on top.
Mint Chocolate Version
Use chocolate-mint sandwich cookies and add a small amount of peppermint or mint extract to the cream filling.
Peanut Butter Chocolate Version
Drizzle warmed creamy peanut butter between the layers along with the chocolate syrup.
Strawberry Chocolate Version
Add thinly sliced fresh strawberries between some of the creamy layers for a chocolate-covered-strawberry variation.
Extra Oreo Version
Mix additional crushed chocolate sandwich cookies directly into the cream filling for more cookie flavor in every bite.
What to Serve With
This icebox cake is rich and creamy enough to serve on its own.
For a special dessert table, serve it alongside fresh strawberries, raspberries, or blueberries.
A cup of hot coffee makes an excellent pairing because the slight bitterness balances the sweetness of the dessert.
For children and parties, serve it with cold milk or a vanilla milkshake for an extra indulgent dessert combination.
Make-Ahead Instructions
This is an excellent make-ahead dessert recipe.
You can prepare the entire dessert up to 24 hours before serving.
Cover the baking dish tightly and refrigerate until ready to serve.
In fact, preparing the dessert the night before is recommended because the cookies have more time to soften and the layers become easier to cut.
Storage
Keep the icebox cake refrigerated at all times.
Cover the baking dish tightly with plastic wrap or store individual portions in airtight containers.
The dessert is best enjoyed within 3–4 days.
The cookies will continue to soften as the dessert sits, so the texture may become softer after several days.
Reheating
This dessert should not be reheated.
Serve it cold or slightly chilled directly from the refrigerator.
Freezing
You can freeze this dessert, although the texture may change slightly after thawing.
Cover the assembled dessert tightly with plastic wrap and aluminum foil.
Freeze for up to 1 month.
Thaw overnight in the refrigerator before serving.
Add fresh whipped cream, chocolate syrup, cookies, and sprinkles after thawing if you want the topping to look freshly prepared.
Common Mistakes to Avoid
Not chilling long enough: The cookies need several hours to soften and absorb moisture from the creamy layers.
Using warm ingredients: Warm milk or cream can affect the texture of the filling. Use cold milk and chilled heavy cream.
Overmixing the whipped cream: Overwhipping can make the cream grainy. Stop once medium-stiff peaks form.
Making the cookie pieces too small: Larger cookie pieces provide better texture and prevent the dessert from becoming overly crumbly.
Adding too much liquid: Excess chocolate syrup can make the layers loose. Use moderate drizzles.
Serving immediately: This dessert is designed to be chilled. The texture will not be the same if served immediately after assembly.
Nutrition Estimate
| Nutrient | Estimated Amount Per Serving |
| Calories | 430 kcal |
| Protein | 5 g |
| Carbohydrates | 48 g |
| Fat | 25 g |
| Saturated Fat | 14 g |
| Fiber | 2 g |
| Sugar | 31 g |
| Sodium | 300 mg |
| Calcium | 90 mg |
Nutrition information is an estimate and can vary depending on the specific brands and quantities of ingredients used.
Frequently Asked Questions
Can I make this dessert the day before?
Yes. Preparing it the day before is actually one of the best ways to achieve a soft, cake-like cookie texture.
Can I use Cool Whip instead of heavy cream?
Yes. Prepared whipped topping can be substituted for homemade whipped cream when you want a faster preparation.
Can I use chocolate pudding instead of vanilla?
Absolutely. Chocolate pudding creates a richer chocolate flavor and works especially well with the chocolate cookies.
Why is my icebox cake too soft?
The most common reason is using too much liquid or not allowing enough chilling time. Make sure the pudding mixture is properly thickened and refrigerate the dessert for at least six hours.
Can I use a different size baking dish?
Yes. A slightly smaller dish will create thicker layers, while a larger dish will create thinner layers and may require more cookies.
How long does icebox cake need to chill?
For the best results, chill it for at least 6 hours. Overnight is even better.
Can I make individual servings?
Yes. Layer the cookies, cream, chocolate sauce, and toppings in individual dessert cups or glasses. Refrigerate for several hours before serving.
Final Thoughts
This No-Bake Chocolate Oreo Icebox Cake is an easy, creamy, and crowd-pleasing dessert that requires no oven and minimal preparation.
The combination of soft chocolate cookies, fluffy vanilla cream, chocolate drizzle, crunchy cookie pieces, and colorful sprinkles creates a dessert that looks impressive while remaining incredibly simple to make.
Whether you’re searching for an easy dessert recipe, a no-bake dessert, a make-ahead dessert, or a fun birthday dessert, this chocolate icebox cake is a delicious option that can be prepared ahead and served straight from the refrigerator.