Introduction
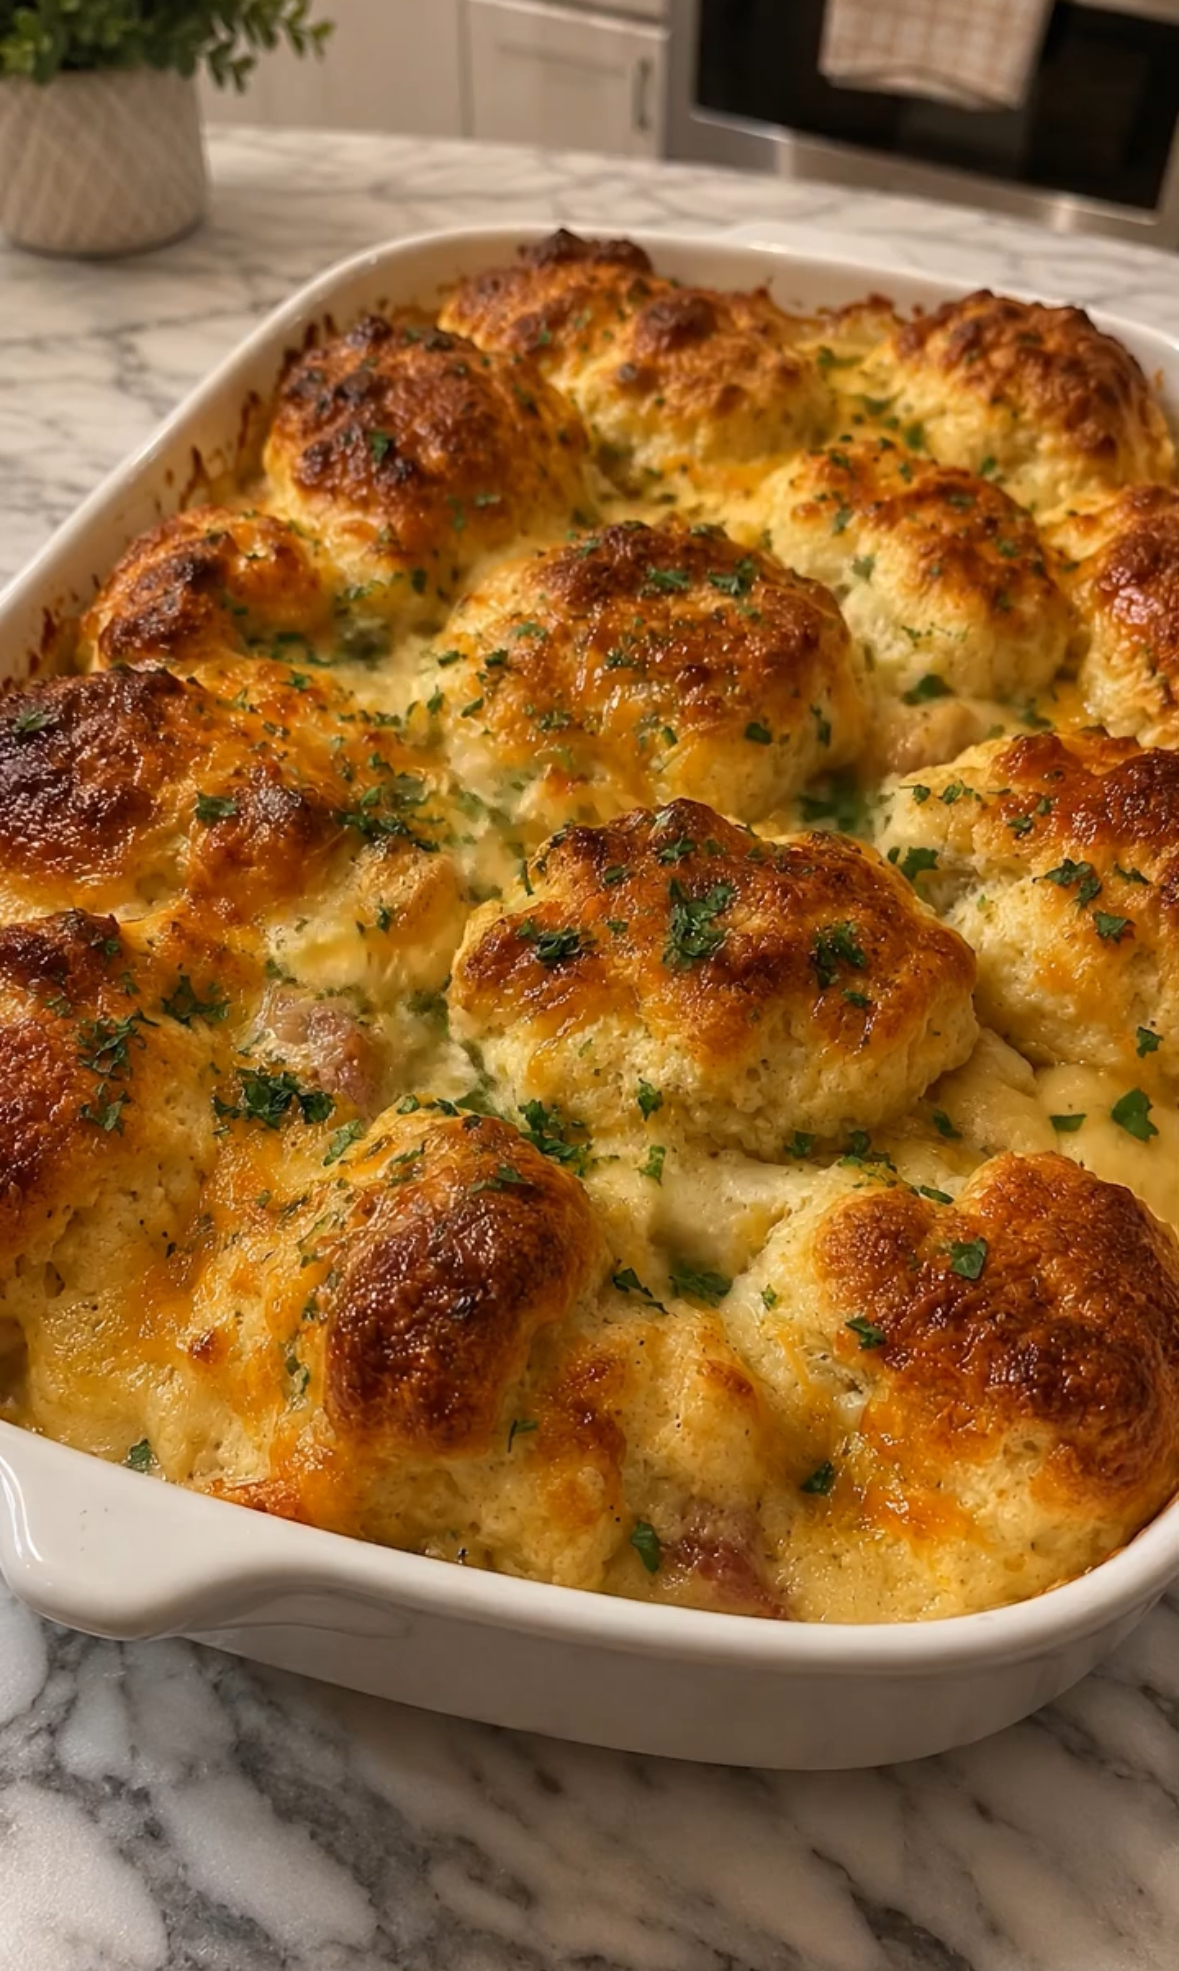
This Creamy Chicken and Biscuit Casserole perfectly captures the essence of classic homemade comfort food, combining tender chicken, colorful vegetables, and a rich, creamy sauce beneath a golden cheddar biscuit topping.
If you are looking for an affordable family dinner that feels completely indulgent, this bubbling casserole is an excellent choice for busy weeknights, Sunday dinners, or easy meal preparation.
Creating satisfying restaurant-style meals at home is also a practical way to make the most of your grocery budget while serving a hearty homemade dinner the whole family can enjoy.
Recipe Overview
| Prep Time | Cook Time | Total Time | Servings | Yield |
| 15 Minutes | 35 Minutes | 50 Minutes | 6–8 | 1 Large Casserole |
Why You’ll Love This Recipe
This recipe offers the perfect combination of convenience, affordability, and comforting flavor.
Instead of relying on expensive takeout or premium meal kits, you can create this budget-friendly family dinner with everyday ingredients and cooked chicken.
The tender, seasoned chicken and creamy vegetable sauce create a satisfying base, while the sharp cheddar biscuit topping becomes light, fluffy, cheesy, and beautifully golden during baking.
It is a low-stress, high-reward dinner that requires minimal preparation and makes excellent leftovers.
Ingredients
🥘 Casserole Base
| Ingredient | Amount | Notes |
| Cooked chicken breast | 3 cups | Shredded or cubed |
| Unsalted butter | ¼ cup | For sautéing vegetables |
| Yellow onion | 1 medium | Finely diced |
| Carrots | 2 medium | Peeled and diced |
| Celery | 2 stalks | Diced |
| All-purpose flour | ¼ cup | For thickening |
| Chicken broth | 2 cups | Low-sodium preferred |
| Heavy cream | ½ cup | For richness |
| Frozen peas | 1 cup | Thawed |
| Garlic powder | 1 tsp | |
| Salt | To taste | |
| Black pepper | To taste |
🧀 Cheddar Biscuit Topping
| Ingredient | Amount | Notes |
| All-purpose flour | 2 cups | Spooned and leveled |
| Baking powder | 1 tbsp | Fresh baking powder |
| Garlic powder | ½ tsp | |
| Salt | ½ tsp | |
| Unsalted butter | ½ cup | Cold and cubed |
| Sharp cheddar cheese | 1½ cups | Freshly grated |
| Whole milk | 1 cup | Cold |
| Fresh parsley | 2 tbsp | Chopped for garnish |
⸻
👩🍳 Step-by-Step Instructions
Preheat the Oven
Preheat your oven to 400°F (200°C).
Lightly grease a 9 × 13-inch baking dish with nonstick cooking spray or a small amount of butter.
Set the dish aside while you prepare the filling.
Sauté the Vegetables
Place a large skillet or Dutch oven over medium heat.
Melt the butter, then add the diced onion, carrots, and celery.
Cook for approximately 5–7 minutes, stirring occasionally, until the vegetables begin to soften and the onion becomes fragrant.
Make the Roux
Sprinkle the flour evenly over the vegetables.
Stir continuously for approximately 1–2 minutes.
Cooking the flour briefly removes its raw taste and prepares it to thicken the sauce.
Create the Creamy Sauce
Slowly pour in the chicken broth while whisking continuously.
Continue whisking until the mixture becomes smooth.
Add the heavy cream, garlic powder, salt, and black pepper.
Bring the mixture to a gentle simmer.
Cook for approximately 3–4 minutes, stirring frequently, until the sauce thickens enough to coat the back of a spoon.
Add the Chicken and Peas
Remove the skillet from the heat.
Stir in the shredded or cubed cooked chicken and thawed peas.
Mix until everything is evenly coated in the creamy sauce.
Taste and adjust the seasoning if necessary.
Pour the chicken mixture into the prepared baking dish and spread it into an even layer.
⸻
🧈 Prepare the Cheddar Biscuit Dough
In a large mixing bowl, whisk together the flour, baking powder, garlic powder, and salt.
Add the cold cubed butter.
Using a pastry cutter, fork, or your fingertips, cut the butter into the flour until the mixture resembles coarse crumbs.
Small pieces of butter should remain visible.
These pockets of cold butter help create a tender, fluffy biscuit topping.
Add the Cheese
Stir the freshly grated sharp cheddar into the flour mixture.
Pour in the cold milk.
Gently stir with a wooden spoon or spatula until a soft dough forms.
Do not overmix.
A few small dry streaks are fine. Overworking the dough can make the biscuits dense.
⸻
🥘 Assemble the Casserole
Drop generous spoonfuls of biscuit dough evenly over the warm chicken filling.
You don’t need to completely cover every inch of the casserole.
Leave small spaces between the biscuits so steam can escape and the biscuit topping can expand while baking.
For a more rustic appearance, use the back of a spoon to gently shape the biscuit portions.
⸻
🔥 Bake to Perfection
Place the casserole in the preheated 400°F (200°C) oven.
Bake uncovered for approximately 20–25 minutes.
The chicken filling should be bubbling around the edges, while the biscuit tops should be puffed and beautifully golden brown.
If the biscuits begin browning too quickly before the center is fully cooked, loosely cover the casserole with aluminum foil for the final few minutes.
Check the Biscuit Topping
Insert a toothpick into the center of one of the biscuits.
It should come out without wet dough attached.
If necessary, continue baking for another 3–5 minutes.
⸻
🌿 Garnish and Serve
Remove the casserole from the oven.
Let it rest for approximately 5 minutes before serving.
Sprinkle freshly chopped parsley over the golden cheddar biscuits.
Serve hot with a spoonful of creamy chicken filling and a fluffy biscuit in every portion.
⸻
⭐ Best Tips
Keep the Biscuit Ingredients Cold
Cold butter and cold milk are essential for tender biscuits.
When cold butter melts in the oven, it creates pockets that contribute to a lighter texture.
Grate Your Own Cheese
Freshly grated sharp cheddar generally melts more smoothly than many pre-shredded varieties.
It also gives the biscuit topping a stronger cheddar flavor.
Don’t Overmix
Mix the biscuit dough only until the ingredients are combined.
Overmixing develops gluten and can result in tough biscuits.
Cut the Vegetables Small
Small, evenly diced carrots, celery, and onions cook more quickly and make the casserole easier to serve.
Let the Casserole Rest
Allowing the casserole to rest for a few minutes after baking gives the creamy filling time to settle and thicken slightly.
⸻
🥕 Best Ingredient Options
Chicken
Rotisserie chicken is an excellent shortcut for this recipe.
You can also use leftover roasted chicken or previously cooked chicken breast or thighs.
Chicken Broth
Low-sodium chicken broth gives you greater control over the final seasoning.
Cheese
Sharp cheddar provides the strongest flavor, but mild cheddar, white cheddar, Colby Jack, Gouda, or Monterey Jack can also work.
Vegetables
Frozen peas are convenient, but you can also use a frozen mixed-vegetable blend containing carrots, peas, corn, and green beans.
⸻
🌶️ Recipe Variations
Garlic Herb Chicken Casserole
Add dried thyme, rosemary, or Italian seasoning to the creamy chicken filling.
Cheesy Chicken Casserole
Add ½ cup shredded cheddar directly to the creamy chicken mixture before transferring it to the baking dish.
Vegetable-Packed Version
Add diced bell peppers, mushrooms, spinach, broccoli, or additional carrots.
Smoky Cheddar Version
Replace some of the sharp cheddar with smoked Gouda and add a small amount of smoked paprika.
Spicy Chicken and Biscuits
Add finely diced jalapeño or a pinch of cayenne pepper to the biscuit mixture.
Lighter Version
Replace some or all of the heavy cream with whole milk or half-and-half.
The sauce will be slightly lighter but still creamy and satisfying.
⸻
🥗 What to Serve With
Because this casserole contains chicken, vegetables, creamy sauce, and biscuits, it can easily stand alone as a complete meal.
For a balanced dinner, serve it with:
- 🥗 Fresh green salad
- 🥦 Roasted broccoli
- 🥕 Steamed vegetables
- 🥒 Cucumber salad
- 🍅 Tomato salad
- 🌽 Roasted corn
- 🥬 Sautéed green beans
A crisp green salad with a light vinaigrette is particularly delicious alongside the rich creamy filling.
⸻
⏰ Make-Ahead Instructions
The chicken filling can be prepared up to 1 day ahead.
Allow it to cool, cover it tightly, and refrigerate.
When ready to bake, prepare the biscuit dough fresh and place it over the chilled filling.
Because a refrigerated casserole starts colder, you may need to add several minutes to the baking time.
For the best biscuit texture, prepare the topping shortly before baking.
⸻
🧊 Storage
Allow leftovers to cool before transferring them to an airtight container.
Refrigerate for up to 3–4 days.
Keep the casserole refrigerated rather than leaving it at room temperature for an extended period.
⸻
🔥 Reheating Instructions
For the best results, reheat individual portions in a 350°F (175°C) oven for approximately 15–20 minutes.
You can also microwave individual portions for approximately 1–2 minutes, depending on portion size and microwave power.
The biscuit topping will be crispier when reheated in the oven than in the microwave.
⸻
❄️ Freezing Instructions
The chicken filling can be frozen separately for up to approximately 3 months.
For the best biscuit texture, prepare the biscuit topping fresh rather than freezing the fully baked casserole.
If freezing the complete casserole, allow it to cool completely, wrap it tightly, and freeze.
Thaw overnight in the refrigerator before reheating.
⸻
🚫 Common Mistakes to Avoid
Using Warm Butter
Warm or melted butter can produce heavy biscuits.
Use butter directly from the refrigerator and cut it into small cubes.
Overmixing the Biscuit Dough
Stop mixing as soon as the dough comes together.
Making the Sauce Too Thin
The sauce should already be noticeably thick before it goes into the baking dish.
Making the Sauce Too Thick
Remember that the filling continues cooking in the oven. A sauce that is extremely thick before baking may become overly dense afterward.
Adding Too Much Biscuit Dough
Very thick biscuit portions may take longer to cook through.
Use moderate, evenly sized spoonfuls.
⸻
🧮 Nutrition Estimate
These values are approximate and depend on the specific ingredients and portion sizes.
| Nutrient | Approx. Per Serving |
| Calories | 520–600 kcal |
| Protein | 28–34 g |
| Carbohydrates | 48–55 g |
| Fat | 24–30 g |
| Fiber | 4–6 g |
| Sugar | 6–9 g |
| Sodium | 650–850 mg |
❓ Frequently Asked Questions
Can I use leftover chicken?
Yes. This recipe is an excellent way to transform leftover cooked chicken into a completely different family meal.
Can I use chicken thighs?
Absolutely. Cooked boneless chicken thighs provide particularly tender and flavorful meat.
Can I use frozen vegetables?
Yes. Frozen peas are already included, and a frozen mixed-vegetable blend can also be used.
Why are my biscuits dense?
The most common reasons are overmixing the dough, using warm butter, or using old baking powder.
Can I prepare this without heavy cream?
Yes. Whole milk or half-and-half can replace the heavy cream for a lighter sauce.
Can I use canned biscuit dough?
Yes, if convenience is the priority. However, the homemade cheddar biscuit topping provides a richer flavor and more homemade texture.
Can I make this casserole gluten-free?
Use a suitable gluten-free all-purpose flour blend for both the casserole thickener and biscuit topping, and make sure your other packaged ingredients are certified gluten-free if necessary.
⸻
🍽️ Meal Prep Tips
This casserole works particularly well for family meal planning because it reheats easily.
Divide leftovers into individual portions and refrigerate them in airtight containers.
For weekday lunches, reheat a portion thoroughly and serve with a simple green salad or steamed vegetables.
You can also prepare the chicken filling ahead of time and make fresh biscuits when you’re ready to bake.
⚠️ Food Safety Note
Make sure the chicken is fully cooked before adding it to the casserole. When using leftover chicken, refrigerate it promptly and reheat leftovers thoroughly before serving.
🥘 Final Thoughts
This Creamy Chicken and Cheddar Biscuit Casserole is the kind of comforting homemade dinner that turns simple ingredients into something genuinely special.
The combination of tender chicken, sweet vegetables, rich creamy sauce, and fluffy golden cheddar biscuits makes every serving hearty and satisfying.
For the best result, keep the biscuit ingredients cold, avoid overmixing the dough, and bake until the topping is deeply golden and the creamy filling is bubbling around the edges.