Introduction
Tired of staring at stubborn, baked-on buildup every time you cook? Learning how to clear away heavy grime using a simple home degreasing method can completely transform your kitchen routine without requiring endless hours of harsh scrubbing.
Cleaning Overview
| Feature | Detail |
| Prep Time | 5 minutes |
| Soak Time | 30 minutes |
| Total Time | 45 minutes |
| Skill Level | Beginner Friendly |
| Method | Natural Soak & Wipe |
| Equipment | Bowl, Sponge, Microfiber Cloth |
Why You’ll Love This Method
This natural approach relies on basic household items to break down tough grease without scratching sensitive metal surfaces. You will save money on expensive commercial cleaners while protecting your kitchen appliances from chemical wear. The passive soaking action does most of the hard work for you, meaning zero frustrating elbow grease is required.
Ingredients & Supplies
| Category | Item Name | Quantity |
| Core Liquids | Hot Water | 4 Cups |
| Core Liquids | Distilled White Vinegar | 1 Cup |
| Cleaning Agents | Liquid Dish Soap | 2 Tablespoons |
| Pastes | Baking Soda | 3 Tablespoons |
| Tools | Non-Abrasive Sponge | 1 Unit |
| Tools | Microfiber Cloth | 1 Unit |
Step-by-Step Instructions
Step 1: Disassemble and Prep
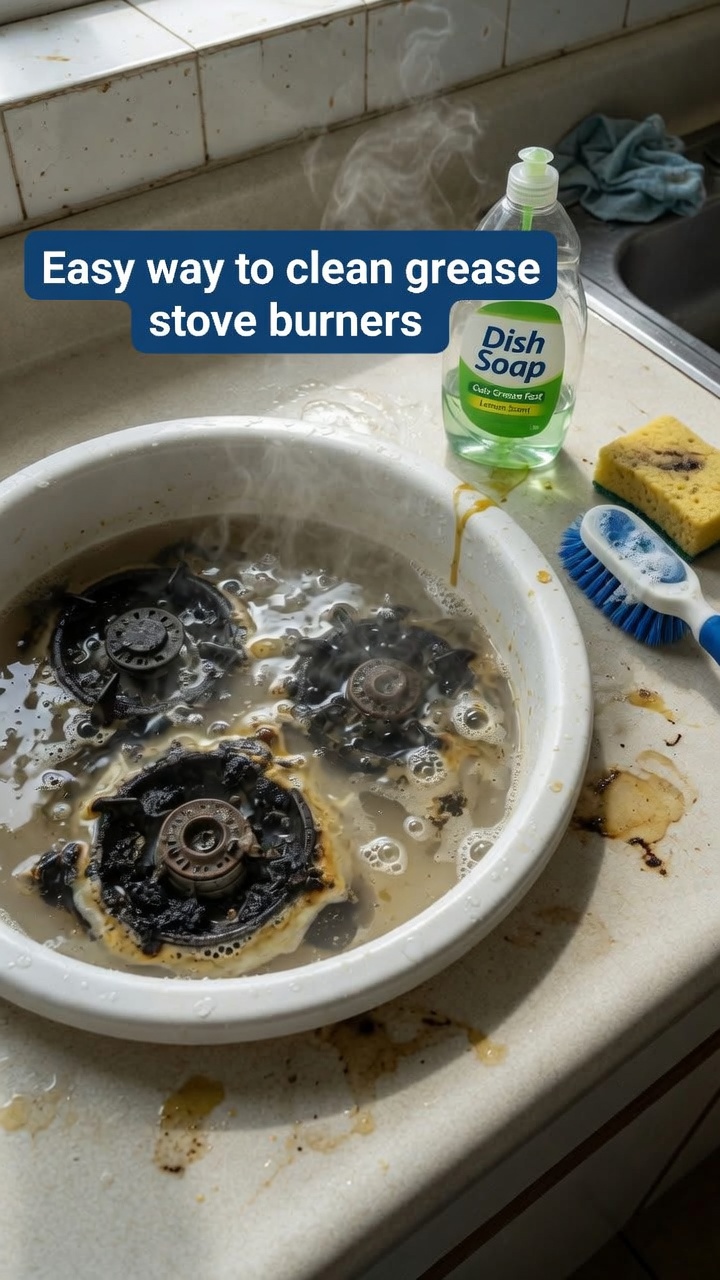
Ensure your cooking surface is completely cool and turned off. Carefully lift the burner caps and removable heads straight up from the base. Place them into a spacious, heat-safe mixing bowl or your kitchen sink basin.
Step 2: Create the Hot Soapy Soak
Fill the container with hot water and mix in the liquid dish soap. Submerge all the dirty components completely so the moisture penetrates the hardened surface oils. Let everything rest undisturbed for 30 minutes to loosen the outer layer of grime.
Step 3: Apply Baking Soda Paste
Lift the components out of the water and inspect for lingering spots. Mix the baking soda with a tiny splash of water until it forms a thick paste. Spread this mixture generously over any stubborn, carbonized brown patches. Allow the paste to sit for 15 minutes to lift remaining impurities.
Step 4: Wipe and Rinse
Take your non-abrasive sponge and gently wipe away the loosened residue in circular motions. Rinse each part thoroughly under warm running tap water to flush away leftover soap or grit.
Step 5: Dry and Reassemble
Buff every single piece completely dry using a clean microfiber cloth. Ensure zero moisture remains inside the ports to guarantee safe ignition before placing them back onto your cooking range.
Best Tips
Consistent maintenance prevents thick layers of carbon from baking onto your equipment during high-heat cooking. Always verify that every component is 100 percent dry before reassembly to prevent ignition failure or corrosion. Addressing fresh spills immediately after your meals cool down cuts down your deep-cleaning frequency significantly.
Best Ingredient Options
White vinegar provides mild acidity that naturally cuts through stubborn oily films without leaving toxic chemical residues. Baking soda acts as a gentle, non-scratch abrasive that buffs away burnt-on food particles safely. Standard liquid dish soap breaks down surface tension so water can penetrate grease layers effectively.
Recipe Variations
For extremely neglected surfaces, swap standard dish soap for a specialized heavy-duty kitchen degreaser. You can also substitute white vinegar with fresh lemon juice for a pleasant citrus aroma during the soak. Steam treatments using a damp cloth placed in a warm microwave can also assist with secondary accessories.
What to Serve With
Pair this sparkling clean setup with your favorite weekly meal prep sessions, home-cooked family dinners, and weekend baking projects. A spotless cooking station makes preparing complex recipes much more enjoyable and hygienic.
Make-Ahead Instructions
You can pre-mix your water, vinegar, and baking soda paste solutions in storage containers ahead of time. Having your cleaning toolkit readily accessible encourages you to tackle maintenance before heavy buildup accumulates.
Storage
Store your extra baking soda and vinegar bottles in a cool, dry pantry cabinet away from direct sunlight. Keep your specialized microfiber cleaning cloths neatly folded in a dedicated drawer for quick access.
Reheating
This maintenance routine does not involve food preparation, so no thermal reheating is required. Simply ensure components are brought to room temperature before testing the burners.
Freezing
None of the cleaning agents or components utilized in this maintenance procedure should ever be placed inside a freezer. Keep all liquid cleaning supplies at stable room temperatures.
Common Mistakes to Avoid
Never use sharp metal objects or steel wool scrapers, as they permanently scratch protective appliance coatings. Avoid putting damp components back onto your range, which causes ignition delays. Never skip the final drying phase, because trapped moisture leads to premature rust formation on metal joints.
Nutrition Estimate
| Metric | Value |
| Calories | 0 kcal |
| Total Fat | 0 g |
| Sodium | 75 mg |
| Total Carbs | 2 g |
| Protein | 0 g |
Frequently Asked Questions
Can I put these parts in the dishwasher?
Most manufacturer guidelines advise against running burner caps through an automatic dishwasher because harsh detergents can discolor the protective finish. Hand washing with a gentle sponge remains the safest option.
What should I do if the gas flame looks uneven?
Uneven flames usually mean tiny burner ports are blocked by food debris. Clear those small openings gently using a soft wooden toothpick or a fine needle after soaking.
How often should I perform this deep clean?
A thorough monthly soak keeps your equipment shining like new and prevents thick grease layers from hardening permanently.
Final Thoughts
Maintaining a spotless cooking environment does not require harsh chemical fumes or endless scrubbing sessions. By utilizing simple pantry staples and allowing time to do the heavy lifting, your kitchen will look immaculate with minimal effort.