*Introduction
Welcome to the ultimate gourmet ice cream recipe that brings the luxury of an artisan sweet shop straight to your home kitchen.
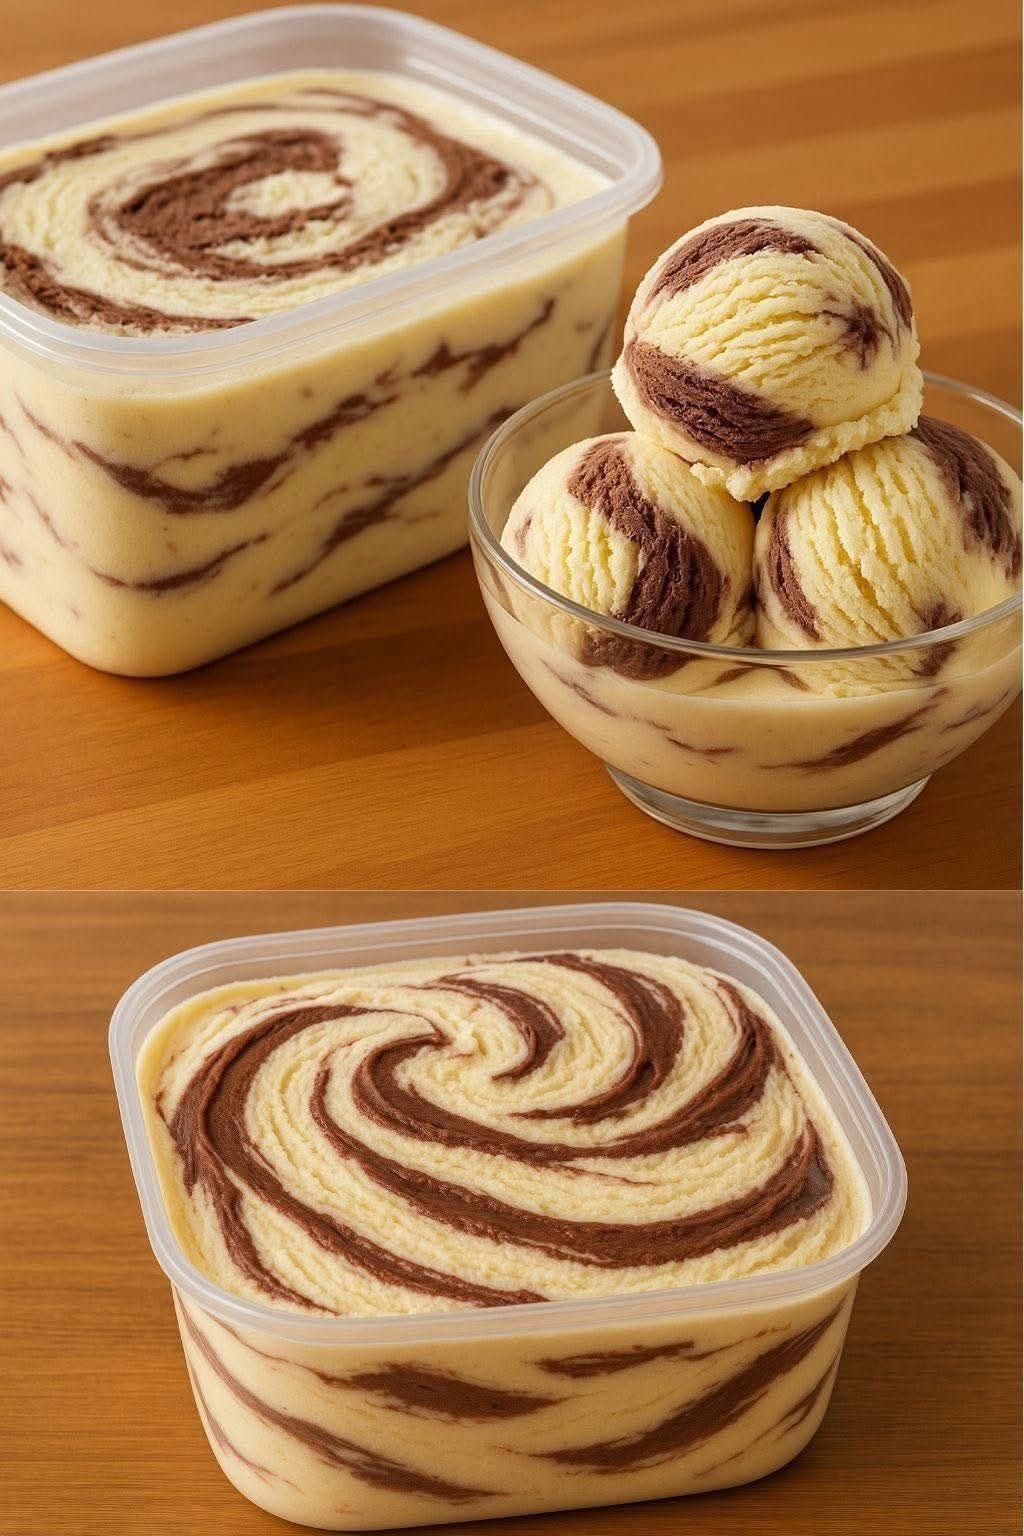
If you look closely at the mouthwatering file named “image_2.png”, you can see the rich, velvet-like vanilla base heavily marbled with thick, decadent ribbons of chocolate.
This highly rated dessert is perfect for anyone seeking an easy homemade dessert that requires zero special equipment while delivering maximum flavor.
Recipe Overview
| Prep Time | Freeze Time | Total Time | Yield | Cuisine |
| 15 minutes | 6 hours | 6 hours 15 minutes | 8 servings | American Dessert |
Why You’ll Love This Recipe
Making your own premium frozen treats is one of the most budget-friendly sweet ideas for families looking to elevate their weekend dining experience.
You will completely bypass the expensive grocery store prices while treating yourself to a luxury food experience made entirely from wholesome ingredients.
The incredible contrast between the creamy, sweet vanilla bean base and the rich, dark chocolate swirl creates an irresistible flavor profile in every single bite.
Plus, this foolproof recipe demands absolutely no churning, meaning you can easily whip up this highly requested dessert in just a few minutes of active prep time.
Ingredients
| Ingredient | Quantity | Purpose |
| Heavy whipping cream (cold) | 2 cups (470ml) | Creates the rich, fluffy ice cream base |
| Sweetened condensed milk | 1 can (14 oz) | Provides sweetness and a smooth, scoopable texture |
| Pure vanilla extract | 1 tablespoon | Adds authentic, aromatic gourmet flavor |
| Fine sea salt | 1/4 teaspoon | Balances the intense sweetness beautifully |
| Premium chocolate fudge sauce | 1/2 cup | Forms the decadent, thick chocolate ribbons |
Step-by-Step Instructions
Step 1: Chill Your Equipment Place your large mixing bowl and metal beaters into the freezer for at least 15 minutes to ensure your heavy cream whips up perfectly stiff.
Step 2: Whip the Heavy Cream Pour the cold heavy whipping cream into the chilled bowl and use an electric mixer on medium-high speed to beat it until stiff peaks form, which takes about 3 to 4 minutes.
Step 3: Fold in the Sweetness In a separate bowl, gently combine the sweetened condensed milk, pure vanilla extract, and sea salt until smooth, then carefully fold this mixture into the whipped cream using a rubber spatula.
Step 4: Create the Swirl Pour half of your vanilla ice cream base into a freezer-safe container, dollop half of the chocolate fudge sauce over the top, and use a butter knife to gently swirl it around in a figure-eight motion.
Step 5: Repeat and Freeze Add the remaining vanilla base, top with the rest of the chocolate fudge, swirl one final time, cover tightly, and freeze for at least 6 hours until completely firm.
Best Tips
Always ensure your heavy cream has the highest fat content available, as this directly contributes to the ultra-creamy mouthfeel of a truly gourmet ice cream recipe.
Be extremely gentle when folding the sweetened condensed milk into your whipped cream so you do not deflate the precious air bubbles that keep the dessert light and scoopable.
For the most visually stunning presentation, resist the urge to over-swirl the chocolate fudge, as too much mixing will turn the entire base into a light brown mush.
Best Ingredient Options
Choosing a high-quality, authentic vanilla bean paste instead of a standard extract will give your ice cream beautiful, professional-looking vanilla flecks throughout the base.
Using a thick, premium dark chocolate fudge sauce from the artisan aisle ensures the swirls remain distinct and gooey even when fully frozen.
Recipe Variations
If you want to create a highly popular peanut butter cup variation, you can easily warm up some creamy peanut butter and swirl it in right alongside the chocolate fudge.
For a delightful crunch, gently fold roasted pecans, mini chocolate chips, or crushed sandwich cookies into the vanilla base right before you begin the layering process.
You can also swap out the chocolate sauce entirely for a bright, tangy strawberry compote or a rich, salted caramel drizzle to customize this base recipe to your liking.
What to Serve With
This spectacular frozen treat makes the ultimate companion to a warm, fudgy chocolate brownie or a freshly baked slice of classic American apple pie.
You can elevate a simple weekend dinner party by serving generous scoops of this in elegant glass bowls, exactly like the one featured in “image_2.png”.
It also acts as the perfect rich and creamy base for creating magnificent root beer floats or nostalgic, towering ice cream sundaes for summer birthday celebrations.
Make-Ahead Instructions
This is the quintessential make-ahead dessert, as it absolutely requires several hours in the freezer for the ingredients to properly set and marry together.
You can easily prepare this entire recipe up to a week in advance of your special event, checking one major task off your busy party planning list.
Storage
To maintain maximum freshness, keep your ice cream securely covered with a tight-fitting lid in the coldest part of your freezer, usually near the very back where temperature fluctuates the least.
Pressing a layer of plastic wrap or parchment paper directly against the surface of the ice cream before sealing the container will expertly prevent unwanted ice crystals from forming.
Reheating
While you certainly never want to actually reheat or cook this frozen dessert, achieving the perfect scoop does require a slight adjustment in temperature.
Simply remove the container from the freezer and let it rest on the kitchen counter at room temperature for about 5 to 10 minutes to safely soften the ice cream for effortless serving.
Freezing
Using a shallow, wide, freezer-safe container like the one shown in our reference photo allows the ice cream to freeze much faster and yields beautifully long, photogenic scoops.
Ensure your freezer is set to 0°F (-18°C) or colder, as a consistently deep freeze is vital for maintaining the structural integrity of homemade, no-churn ice cream.
Common Mistakes to Avoid
One of the biggest errors home cooks make is whipping the heavy cream for far too long, which quickly separates the fat and accidentally turns your dessert base into sweet butter.
Using a thin chocolate syrup instead of a thick fudge sauce is a frequent blunder that will cause the chocolate to bleed into the cream rather than holding those beautiful swirls.
Finally, aggressively mixing the fudge into the vanilla instead of gently dragging a knife through it ruins the striking visual contrast that makes this treat so appetizing.
Nutrition Estimate
| Nutrient | Amount per Serving (1/2 cup) |
| Calories | 345 kcal |
| Total Fat | 24g |
| Saturated Fat | 15g |
| Carbohydrates | 29g |
| Dietary Fiber | 1g |
| Protein | 5g |
| Sodium | 115mg |
Frequently Asked Questions
Do I absolutely need an ice cream maker for this recipe? No, this clever no-churn recipe utilizes whipped heavy cream to fold air into the mixture, perfectly mimicking the texture of a traditional churned dessert without any special machines.
How long will this homemade ice cream last in the freezer? If stored properly in a highly airtight container with a layer of parchment or plastic wrap protecting the surface, it will maintain excellent flavor and texture for up to one full month.
Why did my ice cream turn out icy instead of creamy? This often happens if the fat content of your cream was too low, or if condensation was allowed to drip into the container during the freezing process due to a loose lid.
Final Thoughts
Creating this incredibly decadent, easy homemade dessert is a fantastic way to bring a touch of gourmet sweetness into your everyday life.
The satisfying process of making those gorgeous chocolate ripples guarantees that you will be immensely proud to share this creation with family and friends.
Grab a spoon and dive right into those beautiful swirls, enjoying a premium treat that tastes even better than it looks.