Easy No-Knead Refrigerator Bread
Introduction
Making bread at home doesn’t have to be complicated or time-consuming. With just a few basic ingredients and some patience, you can enjoy warm, fresh bread from your own oven. This easy no-knead refrigerator bread is perfect for busy people or beginner bakers who want to try their hand at homemade baking without the stress of kneading and precise timing.
Ingredients
Here’s a simple and convenient ingredient list for Easy No-Knead Refrigerator Bread:
Ingredients
6 ½ cups all-purpose flour
1 ½ tablespoons active dry yeast (or instant yeast)
1 ½ tablespoons kosher salt
3 cups lukewarm water (about 100°F or 38°C)
Optional Add-ins (for variety):
1–2 tablespoons sugar or honey (for a slightly sweet dough)
1 tablespoon olive oil or melted butter (for added richness)
Herbs like rosemary or thyme
Seeds like sesame, poppy, or flax
Let me know if you’d like the full recipe with instructions, variations, or baking tips!
Instructions
Begin by selecting a large mixing bowl that will allow room for the dough to rise. In the bowl, combine the all-purpose flour, yeast, and salt. Stir them together to evenly distribute the ingredients before adding the water.
Pour the warm water into the bowl slowly, stirring with a wooden spoon or silicone spatula. Keep mixing until a shaggy, sticky dough forms. It won’t look neat or smooth, and that’s exactly how it should be.
Cover the bowl with plastic wrap or a loose-fitting lid. This keeps the dough from drying out while still allowing gases to escape during fermentation. Place the bowl in the refrigerator and let the dough rest for at least 12 hours.
The dough will rise slowly as it ferments, developing bubbles and expanding in volume. You can leave it in the fridge for up to three days, which makes it easy to fit bread-making into your schedule.
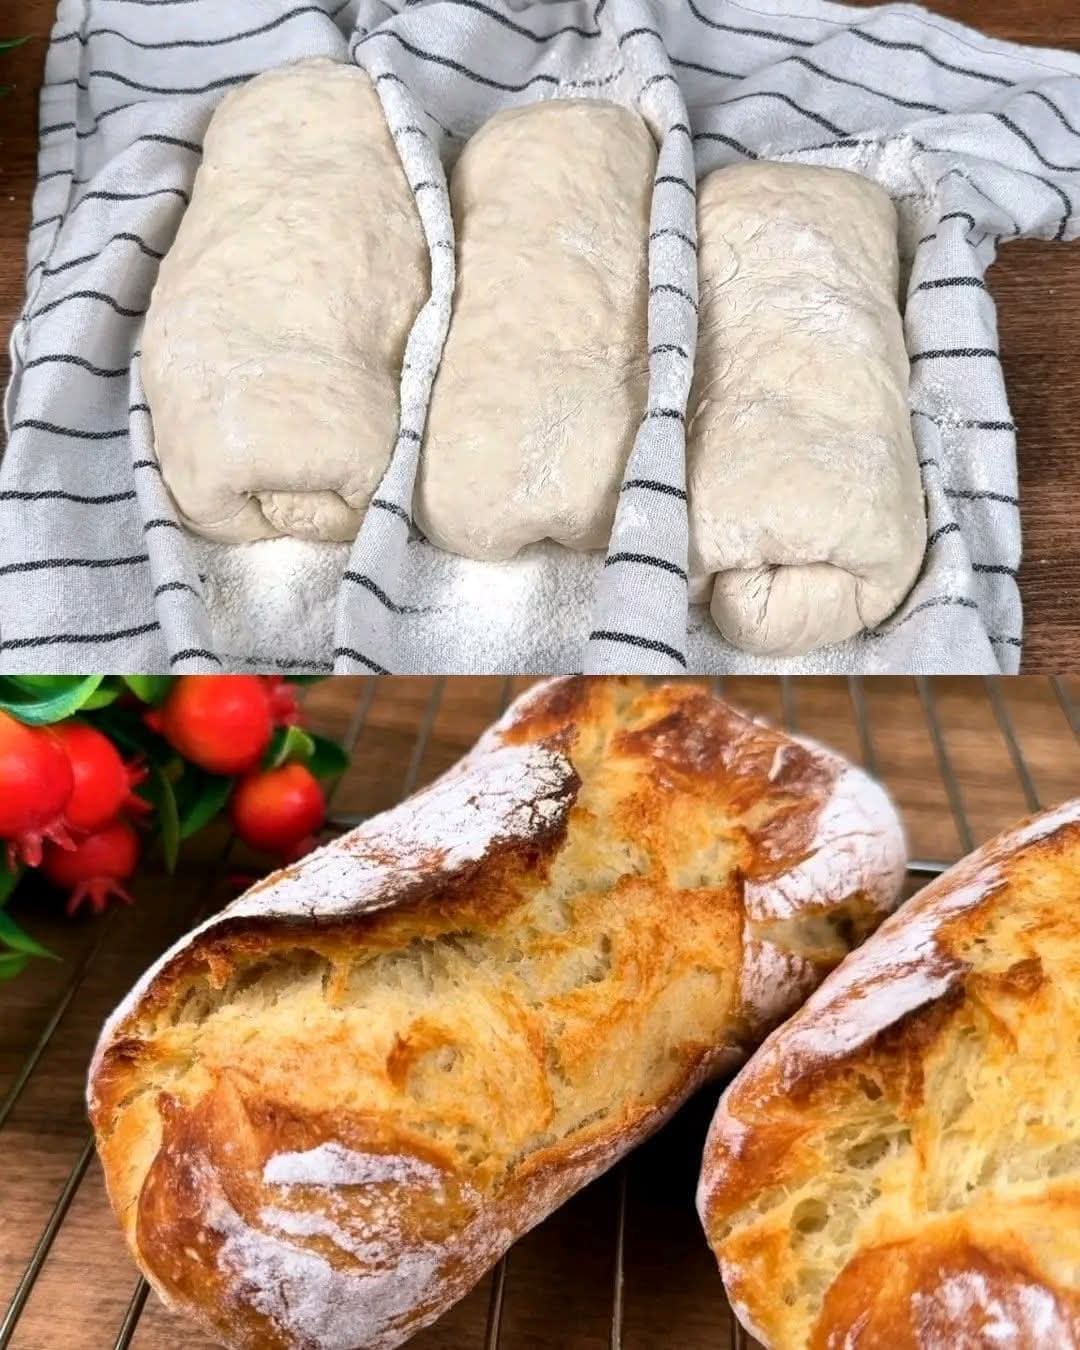
When you’re ready to bake, remove the dough from the refrigerator. Dust your hands and a surface with flour to handle the sticky dough more easily. Gently shape it into a round or oval loaf without overworking it.
Let the dough rest at room temperature while the oven preheats. This resting period allows it to warm up slightly and continue fermenting just enough for a good rise during baking.
Bake the bread in a preheated Dutch oven or on a baking stone for the best results. The hot surface and covered environment help create a golden, crisp crust while keeping the inside soft and tender.
How to Make
To start, mix the dry ingredients in a bowl—this includes flour, yeast, and salt. Stir well so that the yeast and salt are evenly distributed throughout the flour before you add any liquid. This helps ensure even fermentation and flavor development.
Next, add warm water gradually. The water should be warm to the touch but not hot. Stir continuously as you add the water, creating a moist, rough dough that just comes together. No need to knead or overwork it.
Cover the bowl with plastic wrap or a loosely fitted lid. Place the bowl in your refrigerator and forget about it for at least 12 hours. The cold fermentation process is what gives this bread its depth of flavor and wonderful texture.
As the dough sits, the yeast activates slowly, creating air bubbles and a rise that gives the bread its signature lightness. You’ll notice the dough doubling in size and developing a pleasant aroma.
When ready to bake, take the dough out and turn it onto a floured surface. Dust your hands with flour and gently fold and shape the dough into a round loaf. Don’t worry if it’s still a bit sticky—that’s normal.
Allow the dough to sit at room temperature for a short while. Meanwhile, preheat your oven to a high temperature, ideally around 450°F. If you have a Dutch oven or cast iron pot, place it in the oven to preheat as well.
Once everything is ready, place the dough inside the hot pot, cover it, and bake until the crust turns a deep golden brown. Let it cool slightly before slicing so the steam inside can settle and the crumb structure finishes setting.
Variations
You can personalize this bread by mixing in fresh herbs such as rosemary, thyme, or oregano before refrigerating the dough. These aromatic additions add a lovely fragrance and a burst of flavor to every bite.
Try adding grated cheese like cheddar, parmesan, or gouda for a savory twist. Cheese melts into the dough as it bakes, creating pockets of gooey goodness and a crispy top.
For a slightly sweet version, stir in raisins, dried cranberries, or chopped dates along with a touch of cinnamon or honey. This makes a delicious breakfast loaf or snack with butter and jam.
Whole grain lovers can replace a portion of the all-purpose flour with whole wheat or rye flour. This not only boosts the nutrition but also adds a denser texture and nutty flavor to the bread.
Seeds like flaxseed, sesame, chia, or sunflower can be added to the dough or sprinkled on top before baking. They provide a crunchy texture and make the loaf more nutritious.
You can also mix in chopped olives, sun-dried tomatoes, or caramelized onions for a more Mediterranean flavor profile. These additions turn a simple loaf into something special for soups, salads, or sandwiches.
Adjusting the hydration slightly by adding a bit more water can give you a more open crumb, while a slightly drier dough produces a tighter texture. This lets you tweak the recipe to suit your preference.
Tips
Make sure your water is just warm, not hot, to keep the yeast alive. If the water is too hot, it may kill the yeast and prevent your dough from rising properly. A good rule is body temperature or slightly above.
Use a container that allows the dough to expand while resting in the fridge. A large mixing bowl works great, but be sure it’s not too tightly sealed, as some gas needs to escape during fermentation.
Flour your hands and surface well before handling the dough, as it tends to be sticky. This will make shaping and transferring the dough much easier and help keep the texture light and airy.
If you don’t have a Dutch oven, bake your loaf on a preheated baking stone or sheet pan with a pan of water in the oven to create steam. This helps develop a crusty exterior.
Let the bread cool for at least 20 to 30 minutes after baking. Cutting into it too early can ruin the texture inside and make it gummy. Patience pays off with the perfect slice.
Keep leftover bread wrapped in a clean kitchen towel or paper bag to preserve the crust. For longer storage, freeze slices and reheat in the oven or toaster as needed.
Experiment with flavors and ingredients. This is a forgiving recipe that invites creativity, so don’t be afraid to try new things once you’ve mastered the basic method.
Conclusion
Easy no-knead refrigerator bread proves that making homemade bread doesn’t require special equipment, hours of effort, or technical skill. It’s an accessible recipe that yields impressive results, allowing anyone to create warm, flavorful loaves in their own kitchen. With a little planning and a basic understanding of the process, anyone can bake bread like a pro.
Whether you enjoy it fresh from the oven with butter or as the base for your favorite sandwich, this bread is sure to become a staple in your kitchen. With endless variations and minimal hands-on work, you’ll find yourself coming back to this recipe again and again for its simplicity and delicious results.