Sure! Here’s a structured write-up for a Pizza Dough Recipe, formatted with the specified sections and paragraph counts:
Pizza Dough Recipe
Introduction
There’s something incredibly satisfying about making pizza dough from scratch. It’s the foundation of a delicious homemade pizza, and with just a few pantry staples.
you can achieve a dough that’s crisp on the outside and tender on the inside. Whether you’re crafting a classic Margherita or a loaded meat-lover’s pie, this dough is the perfect base.
What sets homemade pizza dough apart is the ability to control texture and flavor. This simple recipe uses yeast to create the rise and slight chewiness, while the balance of sugar, salt, and oil brings out the richness in taste. It’s not just a recipe—it’s the start of a great pizza night at home.
Ingredients
1 teaspoon active dry yeast
1 teaspoon sugar
¾ cup warm water (not hot)
2 cups all-purpose flour
2 tablespoons oil (olive oil preferred)
½ teaspoon salt
Instructions
Begin by activating the yeast. In a small bowl, combine the warm water with sugar and yeast. Stir gently and let it sit for about five to ten minutes. You’ll know it’s ready when a frothy layer forms on the surface.
In a large mixing bowl, add the all-purpose flour and salt. Mix them together to evenly distribute the salt throughout the flour.
Make a well in the center of the flour mixture and pour in the yeast mixture and oil. Start mixing with a spoon or your hands until a rough dough begins to form.
Transfer the dough onto a floured surface and knead it for about eight to ten minutes. Kneading develops the gluten, which gives the dough its elasticity and structure.
Once the dough is smooth and slightly springy, form it into a ball. Place it into a lightly oiled bowl and cover it with a clean kitchen towel or plastic wrap.
Allow the dough to rise in a warm area for about one to two hours, or until it has doubled in size. This step is crucial for achieving a light and airy crust.
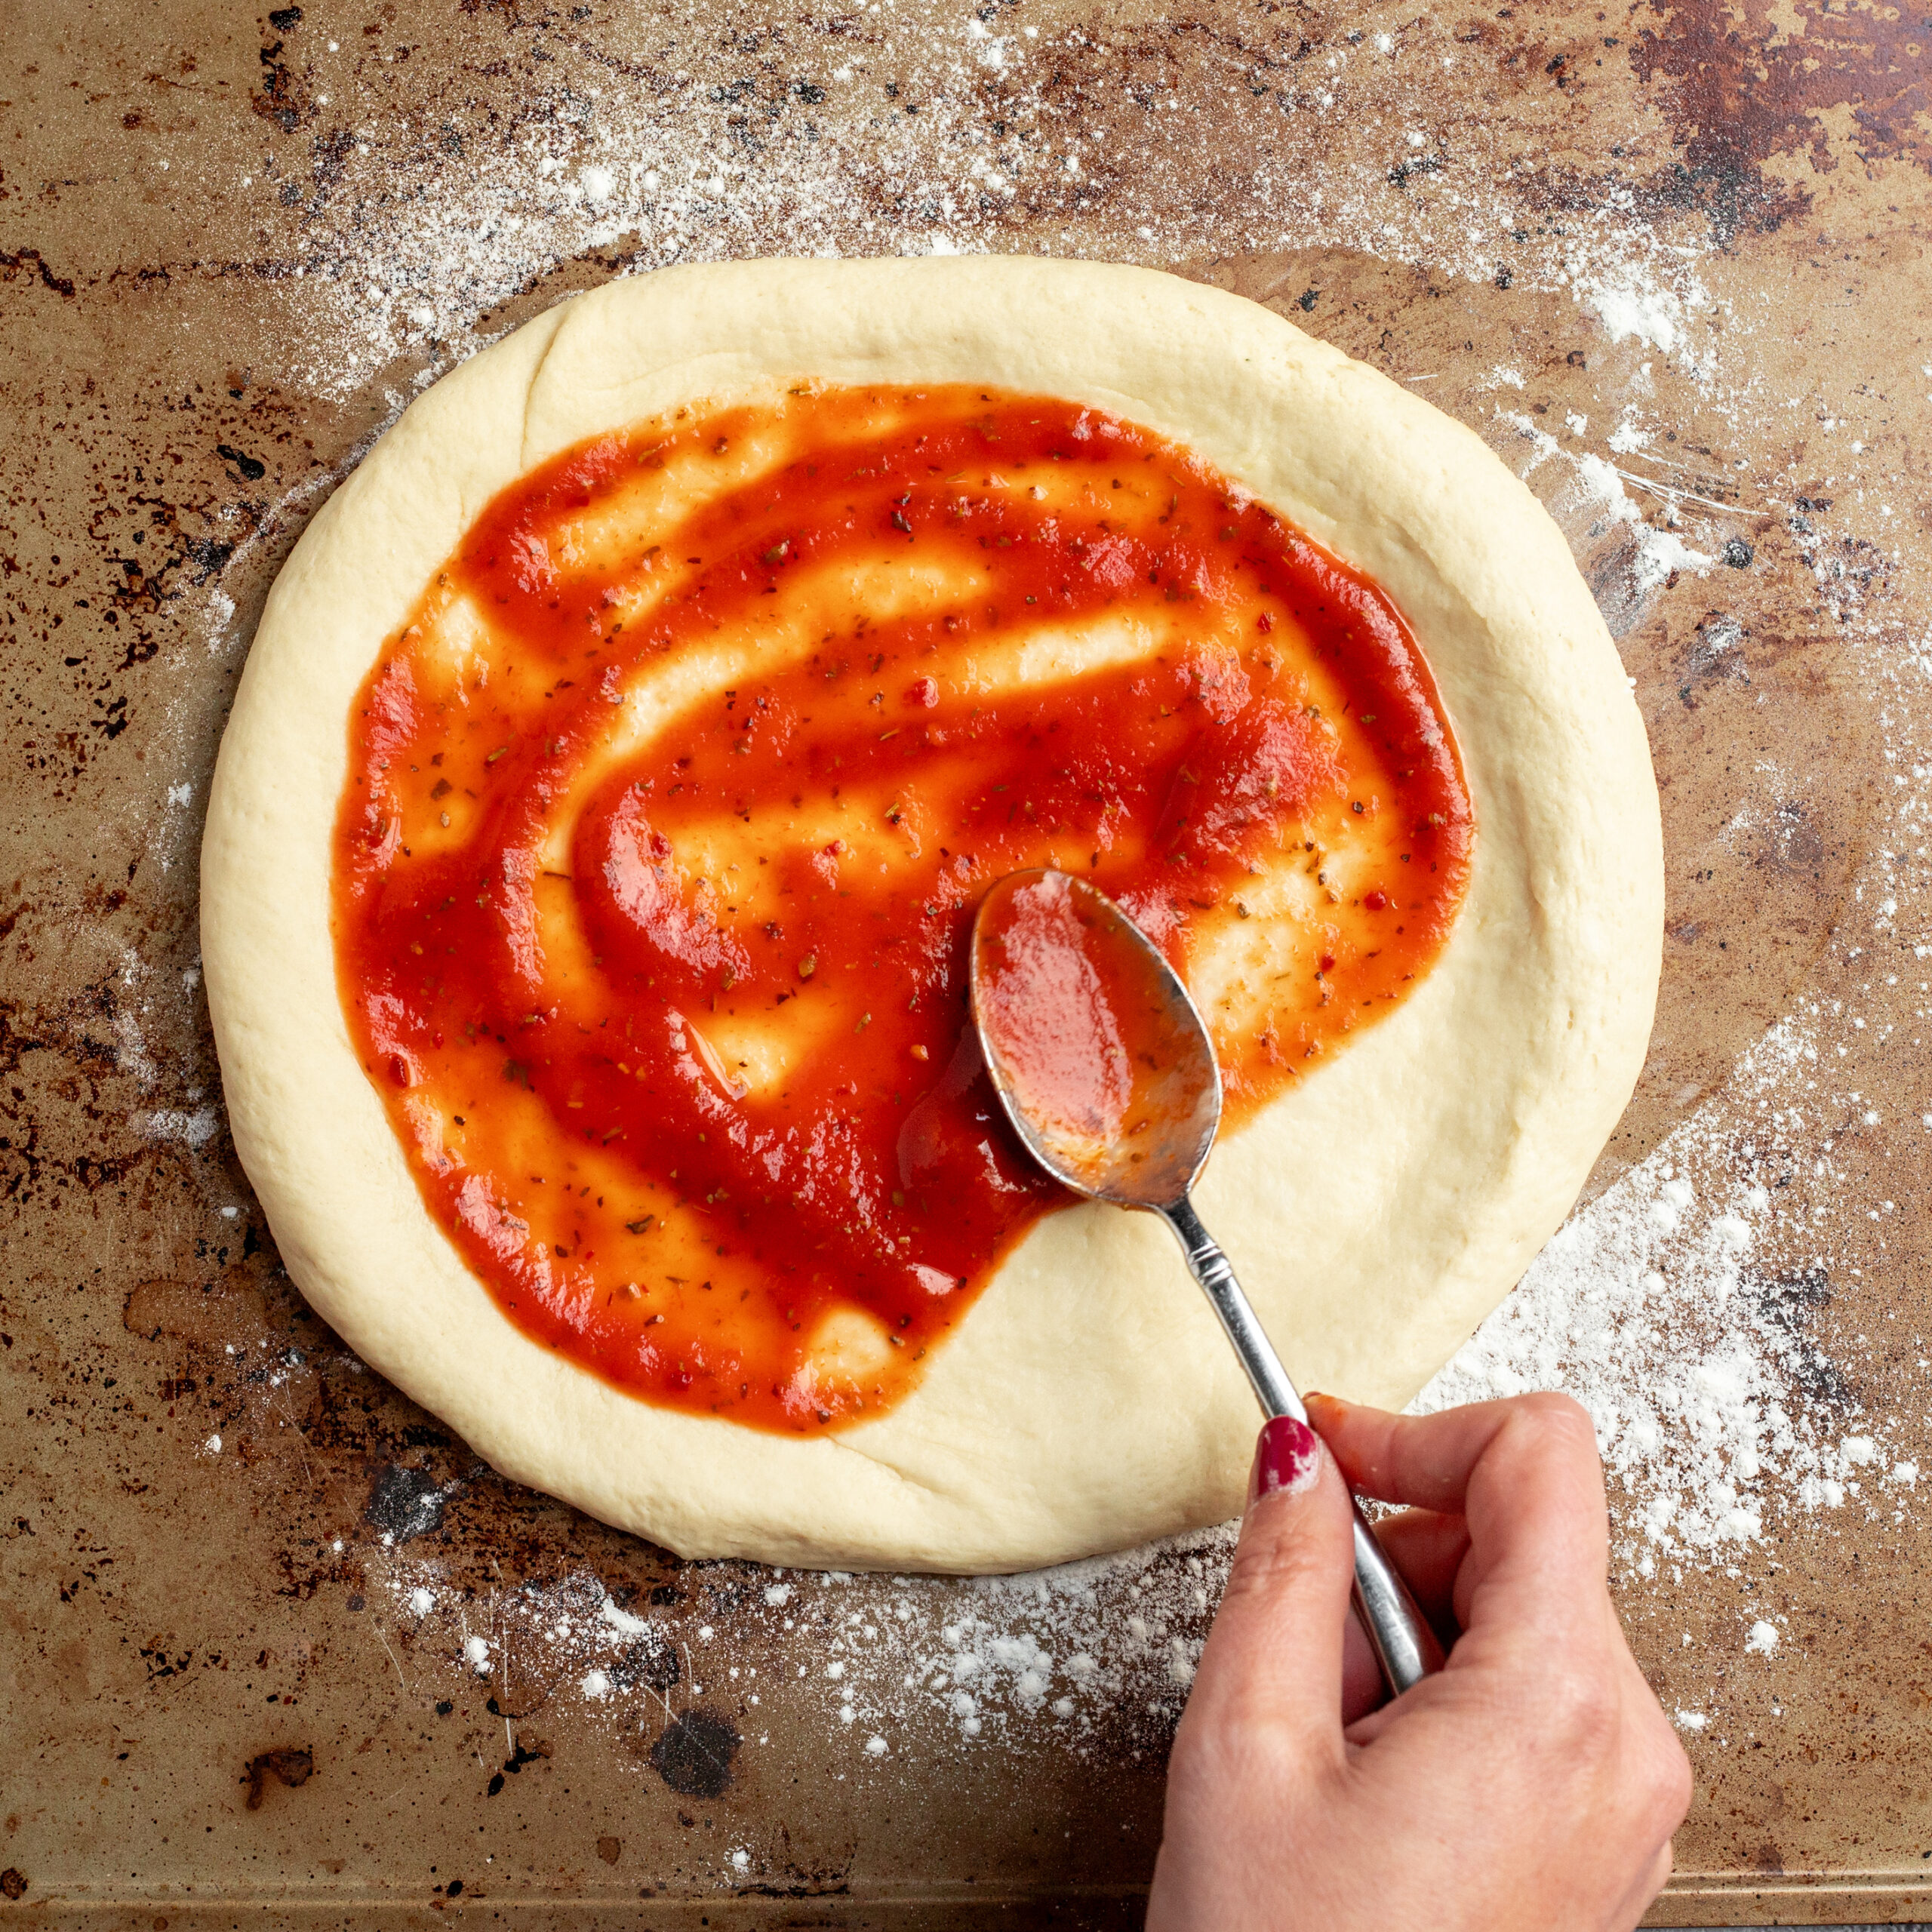
After it has risen, punch down the dough to release the air. It’s now ready to be shaped into your desired pizza base and topped with your favorite ingredients.
How to Make
Start by ensuring your yeast is fresh and active. If it doesn’t foam in the warm water, it’s likely expired and should be replaced to avoid a flat dough.
Use water that is warm to the touch, but not hot. Water that’s too hot can kill the yeast, while water that’s too cold will delay the activation process.
Measure the flour accurately. Too much flour can result in a tough dough, while too little can make it too sticky to work with. Spoon the flour into your measuring cup and level it off with a knife for accuracy.
When kneading the dough, apply gentle pressure and fold it over itself repeatedly. Avoid adding too much extra flour during this process; a slightly sticky dough is better than a dry one.
Let the dough rest in a warm, draft-free location. If your kitchen is cool, placing the dough in an oven with the light on or near a warm appliance can help speed up the rise.
Once risen, handle the dough gently to avoid knocking out all the air. Roll or stretch it into shape on a floured surface to avoid sticking.
Pre-bake the crust if you prefer a crisper bottom. Bake for five to seven minutes before adding sauce and toppings, then return it to the oven to finish baking.
Variations
For a whole wheat version, substitute half of the all-purpose flour with whole wheat flour. This adds a nutty flavor and a boost of fiber to your crust.
To make a garlic herb crust, add a teaspoon of garlic powder and dried Italian herbs to the flour before mixing. This infuses the dough with extra flavor.
For a chewy New York-style crust, use bread flour instead of all-purpose flour. Bread flour has higher protein content, which enhances gluten development.
A thin-crust variation can be achieved by rolling the dough out extra thin and using less dough per pizza. Bake it at a high temperature for a crispy result.
Stuffed crust lovers can roll mozzarella sticks into the edges of the dough before baking. It adds a fun and cheesy twist to the traditional crust.
Try adding a spoonful of sourdough starter to the dough if you have one on hand. It adds complexity and tang to the flavor, reminiscent of artisan pizza.
For a gluten-free version, use a gluten-free flour blend specifically designed for baking. Be sure to add xanthan gum if it’s not included in the mix for better structure.
Tips
Always allow the dough to rise long enough. Rushing this step can result in a dense and flat crust that doesn’t bake evenly.
If you’re short on time, let the dough rise in a slightly warm oven or proofing drawer. Just ensure it’s not too hot, as excessive heat can cook the dough.
Flour your hands and surface generously when kneading and shaping to prevent sticking, especially with wetter dough.
Oil the bowl well before letting the dough rise. This prevents it from sticking and tearing when you remove it later.
You can refrigerate the dough overnight for a slow fermentation process. This improves the flavor and makes the dough easier to work with.
Freeze any extra dough by wrapping it tightly in plastic wrap and placing it in a freezer bag. Thaw it overnight in the fridge before use.
Use parchment paper or a pizza stone for baking to ensure a crispy, evenly baked crust without sticking or burning.
Conclusion
Homemade pizza dough may sound like a challenge, but this simple recipe makes it accessible to everyone. With just a few ingredients and some patience, you can achieve a pizzeria-style crust right from your kitchen.
Experiment with different flours, herbs, and rising times to find your ideal texture and flavor. Making your own dough not only saves money—it elevates your pizza experience with every delicious, homemade bite.
Let me know if you’d like a printable or visual version too!