Cherry Pie Bars: A Sweet Treat for Any Occasion
Cherry pie bars are a delicious, easy-to-make dessert that combines the flavors of a classic cherry pie with the convenience of a bar.
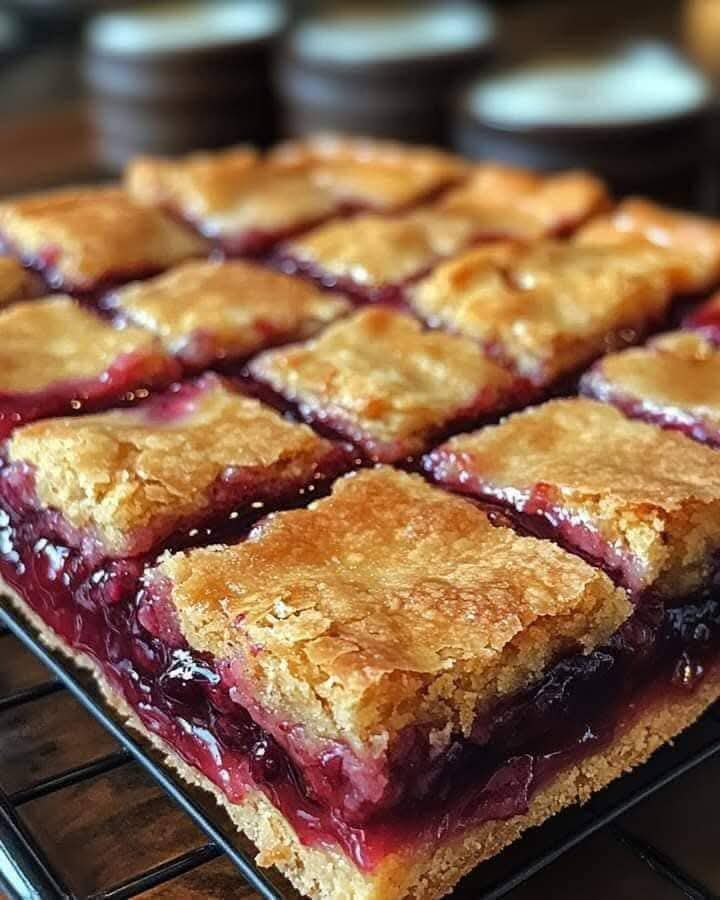
With a buttery, sweet crust and a tangy cherry filling, these bars are perfect for gatherings, parties, or just a simple treat at home. Whether you’re a fan of fruity.
desserts or just looking for something simple and satisfying, these cherry pie bars will definitely hit the spot.
They offer all the deliciousness of a traditional pie but are far easier to prepare and serve, making them ideal for any occasion.
Ingredients
1 cup butter, softened
2 cups sugar
4 eggs
1 tsp vanilla extract
¼ tsp almond extract
3 cups all-purpose flour
1 tsp salt
2 cans (21 oz each) cherry pie filling
1 cup powdered sugar
½ tsp vanilla extract (for glaze)
½ tsp almond extract (for glaze)
2 tbsp milk
Instructions
Start by preheating your oven to 350°F (175°C) and greasing a baking pan, typically 9×13 inches, to prevent sticking.
Then, combine the dry ingredients for the crust—flour, sugar, baking powder, and salt—in a large bowl.
Add the softened butter, egg, and vanilla extract, mixing everything together until the dough comes together. This will form the base of your bars.
Press about two-thirds of the dough mixture into the bottom of the prepared pan, creating an even layer. Bake this crust for about 15-20 minutes, or until it turns a light golden brown.
This gives it a solid foundation to hold the cherry filling. While the crust is baking, you can work on preparing the cherry filling.
To make the filling, combine the cherries, sugar, cornstarch, lemon juice, and almond extract in a saucepan.
Cook the mixture over medium heat, stirring constantly, until it thickens and the cherries soften. Once done, remove it from the heat and let it cool for a few minutes.
Once the crust is ready, spread the cherry filling evenly over the baked layer. Take the remaining dough and crumble it over the top of the cherries.
creating a streusel-like topping. Return the pan to the oven and bake for an additional 25-30 minutes, or until the topping is golden brown and the cherry filling is bubbling.
Allow the bars to cool completely in the pan before slicing them into squares. This will help them set and make them easier to cut. Once cool.
you can optionally dust them with powdered sugar or drizzle with icing for an extra touch of sweetness.
Serve the cherry pie bars with a scoop of vanilla ice cream or enjoy them as they are. These bars are a delicious treat that.
will satisfy any sweet tooth, and they make for a fun and easy dessert to share with friends and family.
How to Make Cherry Pie Bars
Making cherry pie bars is simple and requires minimal effort, making them an excellent choice for beginner bakers.
Start by preparing the crust, which forms the foundation of these bars. By mixing the dry ingredients with butter, egg, and vanilla extract, you create a dough that is both buttery and slightly sweet.
This dough is then pressed into the baking pan and pre-baked to create a solid base for the cherry filling.
Next, prepare the cherry filling. The cherries are the star of this recipe, so using fresh or frozen cherries will work wonderfully. The addition of cornstarch helps thicken.
the filling, and the lemon juice adds a tangy contrast to the sweetness of the cherries. Once the filling is thickened, pour it over the partially baked crust, ensuring it is spread evenly.
The final step involves crumbling the remaining dough mixture over the top of the cherry filling to create a streusel topping.
This adds texture and a little crunch to complement the soft filling. After baking, let the bars cool completely to allow the filling to set, making them easier to slice and serve.
Tips for Perfect Cherry Pie Bars
Make sure to thoroughly press the dough into the pan to create a compact crust, ensuring that the bars hold together well after baking.
If you want a more intense cherry flavor, you can add a splash of cherry juice or a small amount of cherry extract to the filling.
If you prefer a thicker crust, increase the amount of dough used for the bottom layer. You can also experiment with other fruits, such as blueberries or raspberries.
for a different twist on these bars. For a gluten-free version, substitute the all-purpose flour with a gluten-free flour blend.
When making the filling, be sure to stir it continuously while cooking to prevent the cornstarch from clumping. If you’re using frozen cherries.
allow them to thaw and drain any excess liquid before adding them to the filling mixture. This will prevent the filling from becoming too watery.
For a little extra flavor, try adding a pinch of cinnamon or nutmeg to the crust or filling. These spices will enhance.
the sweetness of the cherries and give the bars a cozy, comforting flavor. You can also add a handful of chopped nuts, like almonds or walnuts, to the topping for added crunch.
If you don’t have almond extract, vanilla extract works just as well in the filling. Feel free to play with different extracts to create a unique flavor profile that you love.
For a decorative touch, top the bars with a light dusting of powdered sugar or drizzle them with a simple glaze made from powdered sugar and milk.
Once the bars have cooled, store them in an airtight container at room temperature for up to three days. If you want to keep them longer, refrigerate.
them, and they will last for about a week. You can also freeze them for up to a month—just be sure to wrap them tightly in plastic wrap and foil before freezing.
Conclusion
Cherry pie bars are a wonderful, convenient way to enjoy the flavors of a classic cherry pie without the hassle of making a traditional pie crust.
With their buttery crust, tangy cherry filling, and streusel topping, these bars are perfect for any occasion. Whether you’re baking for a family gathering or just craving something sweet, cherry pie bars are sure to impress.
Not only are they delicious, but they are also incredibly easy to make, making them a great choice for bakers of all skill levels. With a few simple ingredients and some easy steps, you can create a treat that’s both visually stunning and irresistibly tasty.