No-Knead Olive Artisan Bread
Introduction
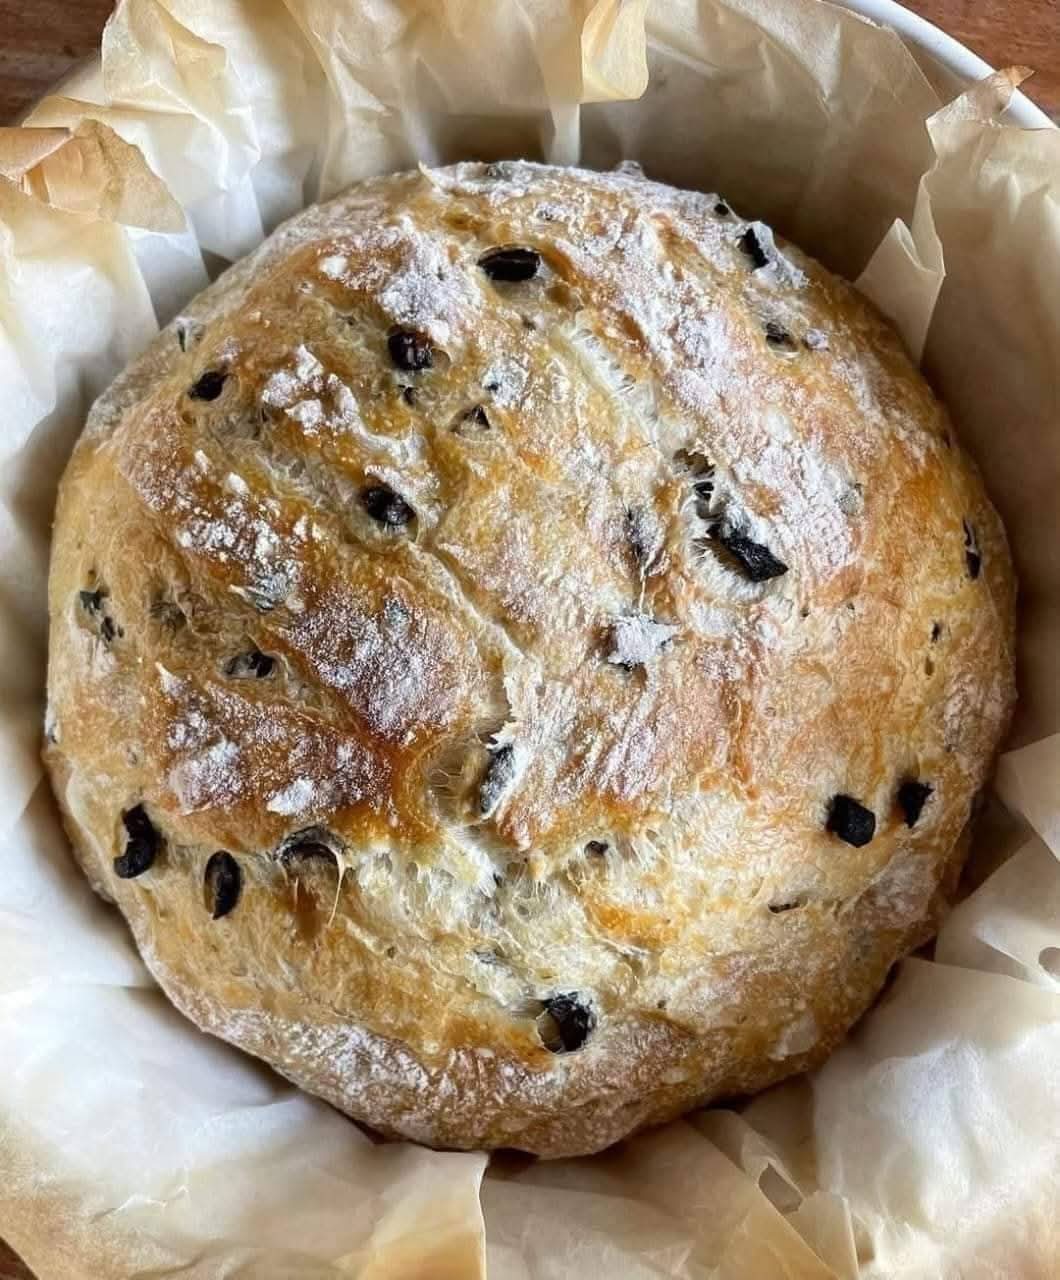
There’s something deeply comforting about the aroma of freshly baked bread wafting through your home, especially when it’s a rustic loaf studded with briny olives.
No-knead olive artisan bread offers the perfect blend of simplicity and rich flavor, making it ideal for both beginners and seasoned home bakers alike.
With just a handful of pantry staples and minimal effort, you can create a crusty, golden loaf that rivals what you’d find at a boutique bakery.
Ingredients
Ingredients3 cups all-purpose flour1/4 teaspoon instant yeast1 teaspoon salt1 1/2 cups warm water1/3 cup chopped olives
Instructions
Begin by mixing the dry ingredients in a large mixing bowl.
Combine the flour, salt, and instant yeast until they’re evenly distributed. This forms the base of your dough, so take a moment to ensure everything is well mixed before adding the liquids.
Pour in the warm water gradually while stirring with a wooden spoon or spatula. The dough will appear shaggy and sticky, and that’s exactly what you want.
Do not be tempted to overmix or knead at this stage; the magic happens during the resting period.
Once everything is incorporated, fold in the chopped olives. These can be green, black, or a mixture of both
depending on your taste. Stir them in gently, making sure they’re spread throughout the dough but without overworking it.
Cover the bowl with plastic wrap or a clean kitchen towel and let the dough rest at room temperature.
Allow it to rise for at least 12 to 18 hours. During this time, the yeast will slowly ferment the dough, developing flavor and texture without any kneading required.
After the dough has rested, it will have expanded and developed bubbles on the surface. Lightly flour a clean surface and turn the dough out onto it.
Shape it into a loose round and cover it with a towel, letting it rest for another 30 minutes.
Meanwhile, place a Dutch oven or heavy lidded pot into the oven and preheat to 450°F (230°C). Once the pot is thoroughly heated, carefully transfer the dough into it, cover with the lid, and bake for 30 minutes.
Remove the lid and continue baking for another 10 to 15 minutes to develop a deep, golden crust.
Carefully remove the bread and allow it to cool on a wire rack before slicing. This resting period helps the interior set properly and enhances the flavor.
How to Make
Start by ensuring all your ingredients are measured and ready. This will make the process smoother and help avoid mistakes.
The warm water should be around 110°F (43°C) to activate the yeast without killing it.
Mix the flour, salt, and instant yeast together in a large bowl. You don’t need any special equipment—just a spoon or spatula will do. This step ensures the yeast is evenly distributed before the water is added.
Add the water and stir until a wet, sticky dough forms. Unlike traditional bread recipes, there’s no need to knead this dough.
The long resting time allows the gluten to develop naturally, giving the bread its signature airy structure.
Stir in the chopped olives at this stage. The olives bring a savory punch that enhances the bread’s flavor profile.
You can experiment with different types, including Kalamata, Castelvetrano, or even stuffed olives for added character.
Cover the dough and let it sit at room temperature. This extended fermentation period is crucial for flavor and texture.
It’s best to plan ahead and let the dough rise overnight so it’s ready to bake the next day.
After the dough has risen, gently shape it into a round. Be careful not to deflate it too much—handling the dough gently preserves its light and airy interior. Let it rest again while your oven and Dutch oven preheat.
Baking in a hot, covered pot traps steam, which is essential for creating a crackly, golden crust. After baking, let the bread cool completely before cutting. This prevents it from becoming gummy and allows the flavors to develop fully.
Variations
You can customize this bread by switching up the type of olives. Use Kalamata for a bold, tangy flavor, or Castelvetrano for something milder and buttery. Even a mix of both can yield delicious results.
Try adding herbs like rosemary or thyme to the dough. These herbs complement the olives beautifully and infuse the bread with earthy aromas that elevate the overall flavor.
If you enjoy cheese, consider mixing in crumbled feta or shredded parmesan. Cheese adds a rich, savory element that pairs wonderfully with the olives and makes the bread even more indulgent.
For a bit of spice, chopped sun-dried tomatoes or crushed red pepper flakes can be added. These ingredients bring warmth and tang that contrast well with the briny olives.
Consider making a sweeter version by using figs or dates with olives and a sprinkle of sea salt. This sweet and salty combination is surprisingly addictive and excellent served with soft cheese.
Change up the flour by using a portion of whole wheat or rye flour for a denser, heartier loaf. This variation works well in colder months and pairs nicely with stews and hearty soups.
You can also shape the dough into small rolls instead of a large loaf. This makes it perfect for individual servings or party appetizers, especially when served with dips or spreads.
Tips
Always use a Dutch oven or heavy, lidded pot for the best crust. The enclosed steam environment helps the bread develop a crisp, crackling outer shell while keeping the interior tender.
Don’t rush the fermentation time. Letting the dough rest overnight gives the yeast time to create complex flavors and a light, open crumb structure. It’s worth the wait.
Use a parchment paper sling to transfer the dough into the hot pot. This makes it much easier and safer to handle, especially since the pot will be extremely hot.
Wet your hands when shaping the sticky dough. This will prevent it from sticking to your fingers and make the shaping process much smoother and less frustrating.
Experiment with different flour types for unique results. A bit of whole grain flour adds nuttiness and texture, while bread flour can give you a chewier crumb.
Slice the bread only after it’s cooled completely. Cutting into it too early can make the inside gummy and collapse the delicate structure you’ve worked to build.
Store the bread loosely wrapped at room temperature. Avoid sealing it in plastic, which traps moisture and makes the crust soggy. For longer storage, freeze slices in a zip-top bag.
Conclusion
No-knead olive artisan bread is a testament to the magic of simple ingredients and patience. With just a few pantry staples and a little planning, you can enjoy a bakery-quality loaf right from your own oven. The crunchy crust, fluffy interior, and bursts of olive goodness make it an instant favorite.
Whether you’re new to bread making or looking for an easy yet impressive addition to your table, this recipe delivers. It’s a celebration of flavor and simplicity, perfect for sharing with loved ones—or savoring all by yourself.